Discover our workshops:
Field workshops
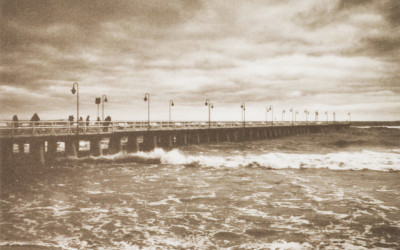
Field workshops offer a unique combination of intensive photographic practice, including both taking our own pictures and mastering the chosen technique under supervision of an experienced instructor and active leisure. This way the time we spend together is not limited to just the time of photographic practice. Once this is over we can sit together at a good supper, drink a glass of ale and talk… about photography or anything else that we find interesting.
Read more…
Technical workshops
Technical workshops are where we concentrate only on mastering a particular photographic technique. Rather than divide our time between darkroom practice and photographic sessions we focus entirely on the technical aspects of the process basing our practical work on negatives prepared by the instructor beforehand.
Read more…
Creative workshops
Creative workshops combine an opportunity to master a particulat technique with a chance to enrich your portfolio with pictures you take yourself. Rather than limit ourselves to practising the technique using negatives prepared by the tutor, we offer an opportunity to shoot your own photographs that will constitute basis for further practice during the workshop.
Read more…
Alternative photographic workshops.
Platinum and palladium printing
Take part in our only workshop devoted to the most luxurious of all iron based processes and learn the secrets of making photographs using platinum salts the way it was done by the greaters masters of photography. Learn the...